
How To Make Sticky Rice In A Microwave
Introduction: Benefits Of Making Sticky Rice In A Microwave
I created this sticky white rice hack for anyone who forgets to soak their sticky rice, for college students without traditional cookware, and for last-minute cooks eager to try something new. I've always loved the microwave as a useful kitchen tool; sometimes, it even makes food taste better and cooks it faster. With this sticky rice microwave method, you can cook the rice in just 16 minutes, plus a few additional minutes of waiting time before it's ready to eat. This method will change your life, and you'll never need to stress about forgetting to soak the rice again. Here are the instructions.

Ingredients
water
sticky rice
Step 1: Select The Right Type Of Rice
This tutorial is specifically for sticky rice, not other types of rice. Sticky rice is sometimes called glutinous rice or sweet rice. The best way to find the correct type of sticky rice is to visit a Southeast Asian market, where you'll find many bags and brands. Additionally, sticky rice grains look different: sticky rice is opaque, while other types, like jasmine rice, are translucent. If you prefer to buy sticky rice online, here is a link.
Step 2: Rinse The Rice
Place 1 cup of sticky rice in a small bowl and rinse it three times to remove the starch. This recipe has only been tested with 1 cup, which serves as an individual portion. If you want to make more than 1 cup, please note that it is untested and results may vary.
Step 3: Soak the Rice
Add water to a pot and bring it to a boil. After rinsing the rice and preparing a heatproof microwave-safe bowl, add boiling hot water until it covers the rice by at least one inch. The water ratio is not important. Use a chopstick to break up any clumps. Let the rice sit in the water for 10 minutes, then strain out the water until it barely drips. Be cautious not to leave too much water, as this may result in overly sticky sticky rice.
Step 4: Microwave The Rice
Place a microwave-safe lid or plate on top of the rice bowl and place it in the microwave oven. Adjust the microwave to approximately 700 watts if possible. Set the cook time for 3 minutes at power level 6. After the first microwave session, remove the bowl and stir the rice to ensure even cooking, bringing the bottom rice to the top. Return the bowl to the microwave and continue cooking for another 3 minutes at power level 6. The bowl will be hot right out of the microwave so use some oven mitts.
Step 5: Allow The Rice To Rest
After the last microwave session, do not remove the lid/plate. Let it rest for 5 minutes as this will continue to let it steam and cook with the residual moisture.
Step 6: Fluff The Rice And Serve
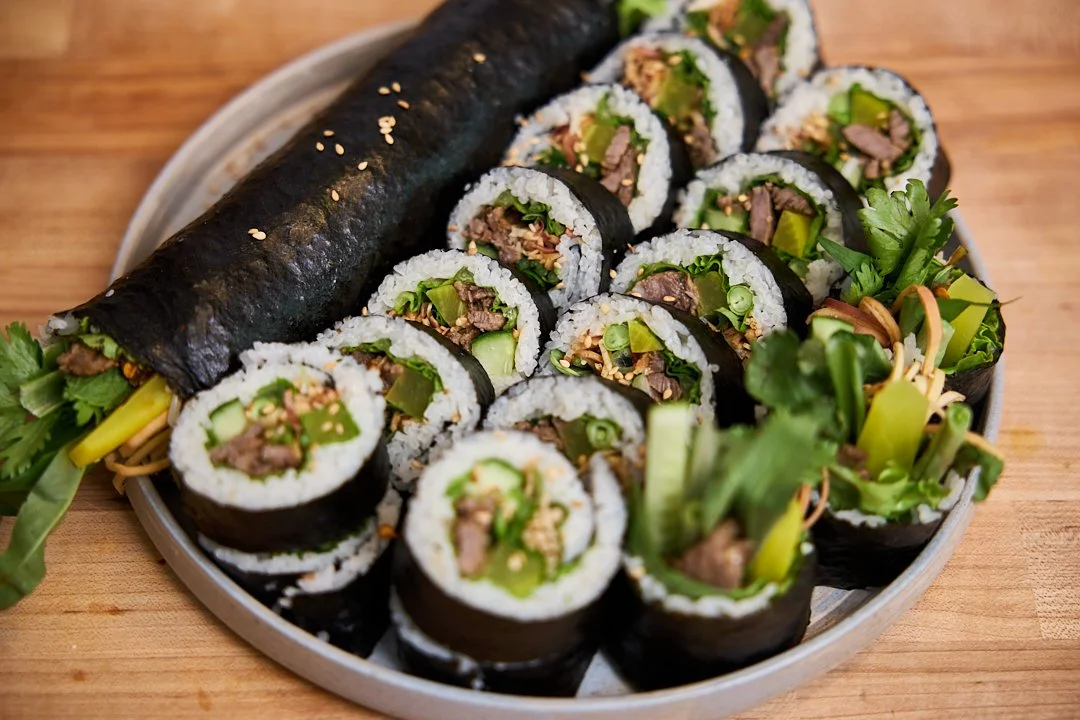
Loosen the rice so it comes out of the bowl easily and transfer it onto a mat or parchment paper. Gently fluff the rice until it cools to the touch. Shape it into a ball and place it in your sticky rice container. I prefer lining the container with parchment paper for easier cleanup. Enjoy your sticky rice with your favorite Lao foods and dips, such as jeow bong.
Common Mistakes When Microwaving Rice
If your rice turns out hard and burnt, it means you've overcooked it, and you should check the wattage of your microwave.
If your rice is soggy and wet, it indicates you've added too much water or didn't strain enough water out.
If your rice is hard but not burnt, it's undercooked and needs to steam a little longer or may need a bit more water.
If you want to learn about more ways to cook sticky rice, check out my Lao Sticky Rice Guide available to download after joining my website newsletter. It includes 5 different ways to cook sticky rice so you can find one that is accessible for your kitchen.

Microwave Tips
The success of this microwave sticky rice recipe depends largely on the type of microwave used, as there are many different brands and models available. I used a Toshiba microwave, which you can find here. A key tip for this recipe is to ensure the microwave's output wattage is around 700. My Toshiba microwave wattage operates at 1,100 watts, which is too strong for this recipe if used at full power. To adjust, I divided the total power by 10 (since it has 10 power levels), and then multiplied it by 6 to achieve approximately 700 watts. This adjustment helped achieve the desired cooking results for the sticky rice.
What to Make With Sticky Rice
This is just the beginning of what you can do with sticky rice—you can transform it into other amazing dishes. One popular example is mango sticky rice, a beloved dessert that can now be prepared in minutes. While the texture of the rice may vary slightly, it still works well for this dessert. Simply create a coconut sauce by mixing coconut milk, sugar, and salt, then pour it over the hot cooked sticky rice. Serve with fresh, fresh mangoes, and you have mango sticky rice ready to enjoy.

16 Minute Sticky Rice In A Microwave
Ingredients
Instructions
- Rinse the rice three times under room temperature water, then drain the water completely. Place the rice in a medium glass bowl.
- Pour boiling hot water over the rice so that the water is at least 1 inch above the rice. Use a chopstick to break up any clumps of rice and let it sit for 10 minutes. Drain the water, then return the rice to the glass bowl.
- Microwave the rice with the lid on for 3 minutes at power level 6 (660 watts). To set the microwave to power level 6, press "Cook Time" for 3 minutes, then "Power Level" to 6, and then start.
- Mix the rice and microwave for another 3 minutes with the lid on.
- Take the rice out of the microwave and let it sit with the lid on for 4 minutes.Roll out the rice on parchment paper or the traditional mat.It will be sticky so let it cool before you put it in your parchment paper lined sticky rice basket.


Sabaidee, I’m Saeng!
I’m a personal chef who specializes in Lao food. Here at Saeng’s Kitchen, you’ll find all your favorite traditional Lao foods and also some new twists to Lao style dishes.